Pea microgreens are healthy and easy to grow. With some practice and effort, you will have your supply of these tasty microgreens all around the year. Microgreens can grow only in a few weeks of time. If you allow the microgreens to grow long, you can get pea shoots
Microgreens tend to have more nutrients than mature plants. One cup of pea shoots has 35% of the daily value of vitamin C and 15% of the daily value of vitamin A. As you can grow pea microgreens at your home, you can control their environment, making them a great organic option.

Health benefits of Pea Microgreens:
There are different types of peas that you can grow at your place. The main categories include Snow peas, English peas, and Sugar snap. Let’s look into the health benefits of pea microgreens to help you understand how good an idea it is to grow at home.
- Anti-Inflammatory
Pea microgreens contain many antioxidants and phytonutrients that support the immune system and reduce inflammation.
- Great source of vitamins
You will get a great deal of vitamins C, D, K, and even vitamin A, making sure your immune system and rest of the body functions are working at high efficiency.
- Cardiovascular improvement
The antioxidant property can help improve immunity and in reducing inflammation in your body, as an effect will improve your cardiovascular health.
- Weight loss
Pea microgreens have a lot of fiber content and can make you feel full for a longer time and reduce the need and tendency to snack. Having a calorie-controlled diet can help you lose extra pounds and get back to the body that you want.
- Regulate blood sugars
The array of nutrients present in the pea microgreens has been shown to help in reducing blood sugar levels. It makes them a great addition to any diet, mainly if you are trying to avert diabetes or coping with the side effects of this disease.

How to grow pea microgreens:
We all love growing microgreens at home! And growing them is not a big deal.. You only need a minimal space with enough sunlight, and that will do. They are simple to grow once you know the steps to follow.
Here are the materials needed for your growing:
- Seeds: Choose your quality seeds from Urban farming concepts. Click this link to know more about our seed pack
- Containers: You can use shallow grow trays for growing pea microgreens
- Growing medium: For growing microgreens, we always recommend organic, nutrient, and microorganism-rich soil. You can use fine-grained soil or even coconut coir.
- Light: You can make use of natural sunlight or grow lights
- Scissors: Kitchen shears to harvest the microgreens
- Misting bottle and a large bowl
There are varieties of pea seeds that you can grow at home. All these microgreens are nearly the same, so choose any of the pea seeds. You will need three growing trays, one with drainage holes and two without drainage holes. The tray with holes is used to fill water and seed, whereas the others are used for watering and germination
When it comes to light, you can use sunlight, but artificial light can be more effective. With artificial lighting, you can grow microgreens anywhere in the house. Also, they will be more compact and uniform.
Soaking
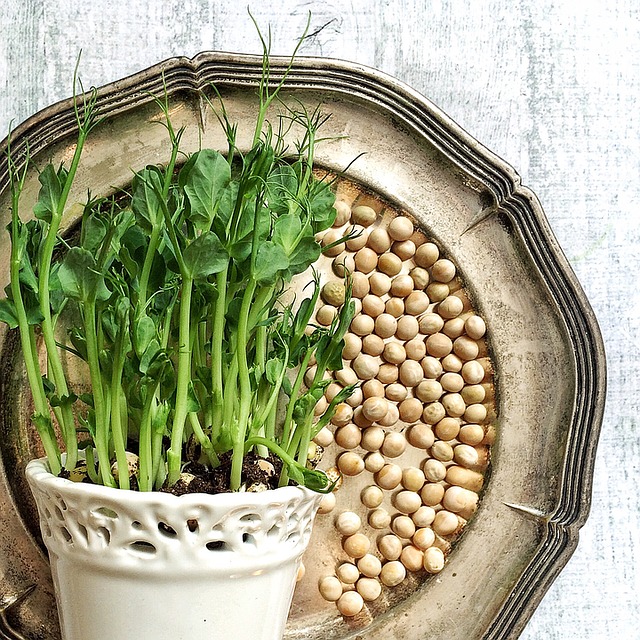
Many microgreen seeds are small, so they need not be soaked before planting. However, pea seeds are large, and hence they need to absorb water before they germinate and grow. Fill a large bowl with enough water and dump all the seeds. Let the seeds get soaked for about 6 to 12 hours but not more than 24. As the seeds soak, they expand to double their size. You may need to refill the water at least once. Once the seeds have absorbed water, drain the bowl and give them a good rinse.
Planting
Once the seeds are soaked and rinsed, it’s time to plant them. Fill your grow tray with ¾ of potting soil. Tamp down to make sure the surface is smooth. Spread the pea microgreen seeds evenly across the tray. Now cover them with a thin layer of soil to avoid pushing themselves out. Slightly tap to firm down that soil layer as well. Make sure to keep the soil and seeds moisturized. Use a mister to spray water but ensure to not overwater them. Even though the seed is covered, they still need a cover for optimal germination and lighting. Also, the weight of the tray will encourage healthy roots.
Growing
After 3 to 4 days of the blackout phase, you can take out the cover and check the seeds. The seeds should have grown up to an inch long sprouts. Now they may look pale in color, but once they get some light, they will quickly turn green. Spray some water to remove any soil particles and begin to bottom water. If your growing medium is dry, fill a tray with water and place the grow tray inside it.
Once the medium absorbs the required water, take the tray out. We do not want the pea microgreens to get drenched. Repeat this to make sure the sprouts are not dry. When the sprouts turn into microgreens, take off the cover and upturn the grow light. Let the microgreens get 12 hours of light each day. Keeping the tray right under the grow light will result in healthy, uniform pea microgreens.
Harvesting
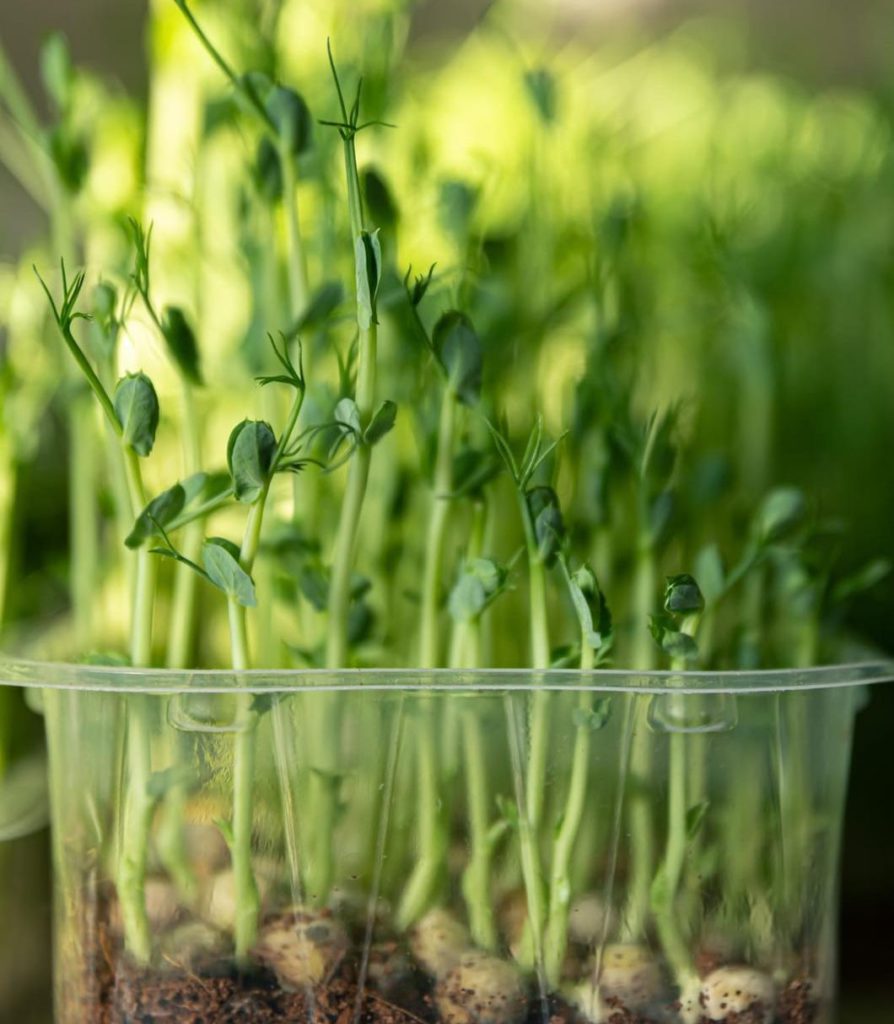
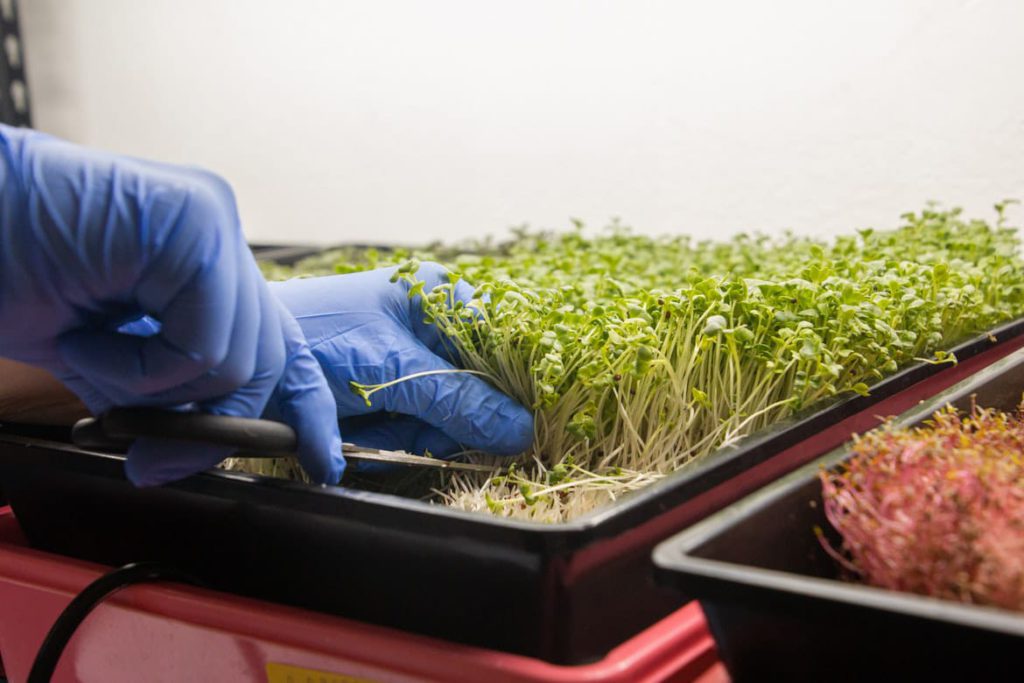
Here you can choose to harvest them as microgreens or wait some more days for the growing plants to grow shoots. For pea shoots, there will be the first few leaves and tendrils pop up. You can harvest a portion of microgreens and then let the remaining grow pea shoots. For harvesting pea microgreens, they have to grow 3 to 4 inches tall and the cotyledon leaves appear. Use a pair of sharp scissors and cut off the microgreens above the soil level.

Storing
Store the harvested microgreens in a ziplock bag and keep them inside the refrigerator. Wash the pea microgreens only when you are just about to use them. Make sure to dry your greens as much as possible for good storage. Fold the microgreens inside a paper towel and place them in an airtight container. The paper towel helps in absorbing the excess mixture from the peas. If you store your pea microgreens with this method, it should last for a week minimum. Use the pea microgreens along with salads, sandwiches, or anything that needs a sweet, pea flavor.


