

Microgreens are small plants that are about 2.5 to 7.5cm tall. Microgreens can be grown outdoors, in greenhouses, even in indoor places like window sills or balconies that receive a good amount of sunlight.They have a good aromatic flavor and high nutrient content.
Microgreens do not need too much time for them to care on a daily basis, but there are some factors to be considered to get fresh greens. Let’s have a look into the growing phase of microgreens. The growing phase has a blackout phase and light phase.
Growing Phase
Blackout Phase
In this phase the planted seeds should be covered in a blackout dome. High germination rates are determined by the factors water, light/darkness, and oxygen. Optimal temperature for germination for many plants is about 24-32 Celsius.
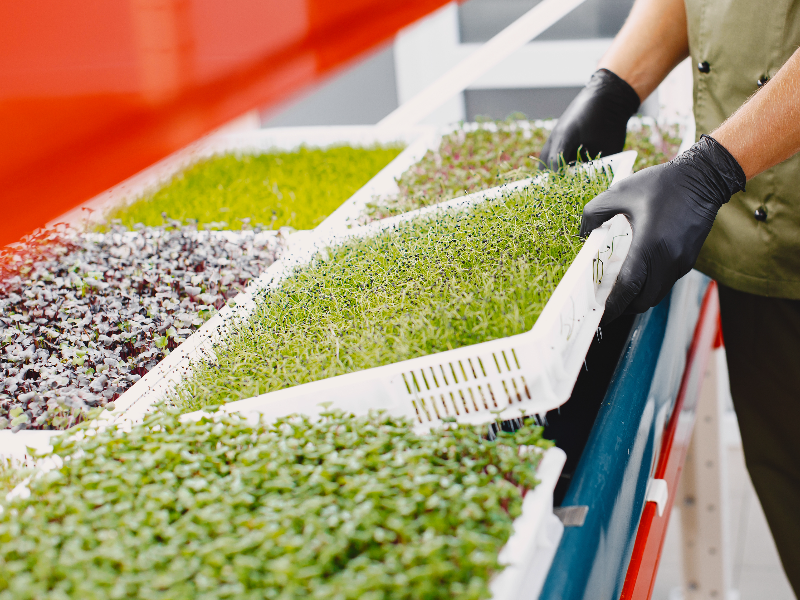
Light Phase
After a few days in the blackout phase, once the seeds have sprouted, they have to be taken out to get natural air circulation and light. Since air circulation is important, make sure you keep them in an area that gets proper air circulation. Because microgreens are delicate, they get dry easily. So they have to be well watered.
Measures to keep your microgreens healthy:
1. Mold or Fungus
Once the microgreens are completely grown, if there is white fuzzy stuff above the soil line and growing up the stem of full grown microgreens, it is probably mold.
To avoid this :
> Keep the trays clean before planting the seeds.
> Provide good air circulation to prevent humidity. In the blackout phase, you can partially uncover the trays to get air circulation.
> Lessen the seed density, especially for mucilaginous seed and as an organic solution try using Grapefruit Seed Extract mixed with water.
2. Slow germination
Normally it takes about 2-3 days for microgreen seeds to start germinating. But if there is no progress after 2-3 days, then this could be an indication of slow germination.
So to prevent this :
> Spray water often to increase the moisture level. You can also pre-soak the seeds for about 8-12 hours before sowing.
> Do a germination test of the seeds. Take some seeds and keep them on an absorbent paper spaced about a centimeter apart. Now fold the paper over the seeds and slightly wet, and roll it up. Keep them moist for a few days. In this method we can easily check how many seeds have sprouted using:
Number of seeds sprouted x 100
___________________________ = Germination rate as a %
Number of seeds tested
3. Clumpy Microgreens
If the seeds are planted densely, some seedlings will push the rest into air, suspending the roots. We can avoid this by :
> Decreasing the total seed volume planted per tray
> Spreading the seeds evenly throughout the tray
4. Weak Looking Microgreens
This condition covers the rest of the problems. Make sure to read the seed packet carefully to understand what has to be done for each type of microgreens. Different types need to be taken out from the blackout at different times.
5. Yellowish Microgreens
Microgreens turn yellowish because of many different things, but usually it’s from too much, or too little light. The yellowing is known as Chlorosis, which occurs due to lack of chlorophylls.
> When there is too much light, they react by producing less chlorophyll as they don’t need that much light. Since it is the chlorophyll that gives plants the green color, they appear more yellow. So keep the microgreens out of direct and harsh sunlight.
> It can also be because of too little light. Takeout the blackout dome a little earlier so that they can get some light and start the process of photosynthesis
6. Do not pour too much water
Water your small greens regularly to keep them alive. But make sure you do not overwater them. If the soil seems a bit dry, pour from the bottom by keeping the tray upon a small amount of water.
7. Do not pluck, let the scissors work
These baby plants need to be cut gently as they are delicate. Do not pluck or pull them from the soil. A good method is to use scissors to cut from the base of the stem, that way we can get clean and fresh microgreens.
8. Wash your Microgreens, but don’t drown them
Just like any other greens, they also have to be washed before using them. Some people find washing microgreens to be a difficult process but it’s actually quite easy. Rinse them lightly with cold water and completely dry them using a salad spinner before eating.
9. Store and protect your Microgreens
In a hot humid environment, when they are ready to harvest, you will have to prevent them suffering in the heat. You can harvest and keep them in your refrigerator or use a fan to cool them down. Wash them and store in a closed container in the fridge. Be gentle and do not cause any damage while washing them. Keep them cool and moisturized so that they will not get dry before using. This way they can be fresh and crisp while we use them.
As the microgreens are nutrient-rich food, ants, insects, and rodents all love them as much as we do. So they need to be protected very well till they germinate. You can use some plastic bags or clear lids to cover them. This will also help in giving them a humid environment that will help in seed germination.
So basically the delicate microgreens have to be observed daily with good care. Water them to keep up the moisture. Snip them using scissors. Make sure they have adequate air circulation and light. Check if there is any formation of mold or fungus. Act immediately if they look weak or start leaning forward. Move them to an area that gets enough light so they can photosynthesize. Microgreens are best when they are fresh. So once they are cut, they should be eaten to get the best flavor. At the maximum, you can wrap them in a paper towel, place them in a plastic-seal bag and store them for 5 days.
